Connect a Custom Domain
The instructions on this page apply specifically to AS Cloud users. If you are using AS Enterprise, please consult the enterprise-specific documentation for independent deployment and domain configuration.
AS Cloud allows each journal to be published under its own custom domain.
After your journal is created, you can connect a domain you already own and make it the public address of your journal website.

Before You Start
Before connecting a custom domain, please make sure:
- Your journal has already been created in AS Cloud
- You already own a domain purchased from a domain registrar
- You have access to manage that domain’s DNS records
If you don't already own a domain, you can purchase one from a reputable domain registrar. Popular providers include Cloudflare, Namecheap, GoDaddy, or Alibaba Cloud (Aliyun). After purchase, you will be able to manage your DNS records through their dashboard.
Open Domain Management
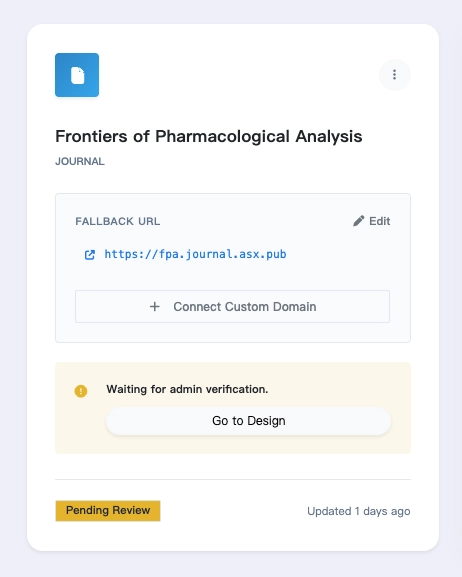
After creating your journal, return to the journal list.
On the journal card, click Connect Custom Domain to open the domain management window.
This is where you can view the default AS URL and manage any connected custom domains.
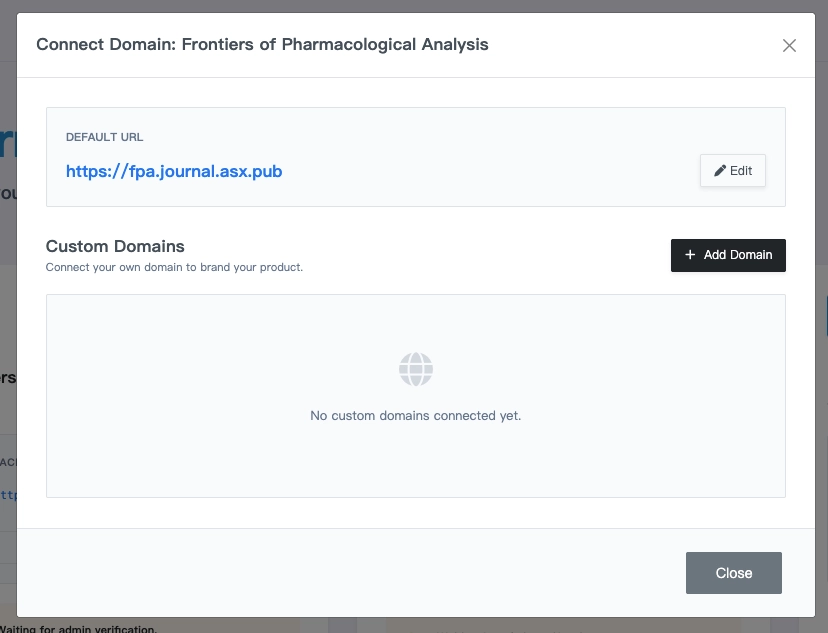
Add a Custom Domain
Click Add Domain to start the setup process.
The domain connection flow contains three steps:
- Enter your domain
- Configure DNS
- Verify and activate HTTPS
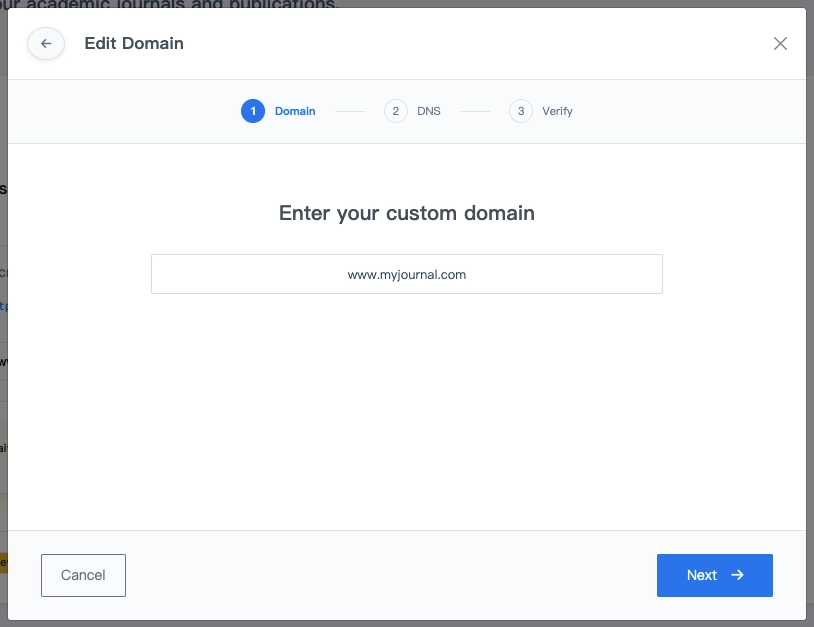
Step 1: Enter Your Domain
In the first step, enter the custom domain you want to use for your journal.
AS Cloud accepts subdomains only, so you should enter a hostname such as:
www.mydomain.com
Do not enter the apex domain directly, such as:
mydomain.com
If your main domain is mydomain.com, the recommended setup is to use www.mydomain.com as the journal domain.
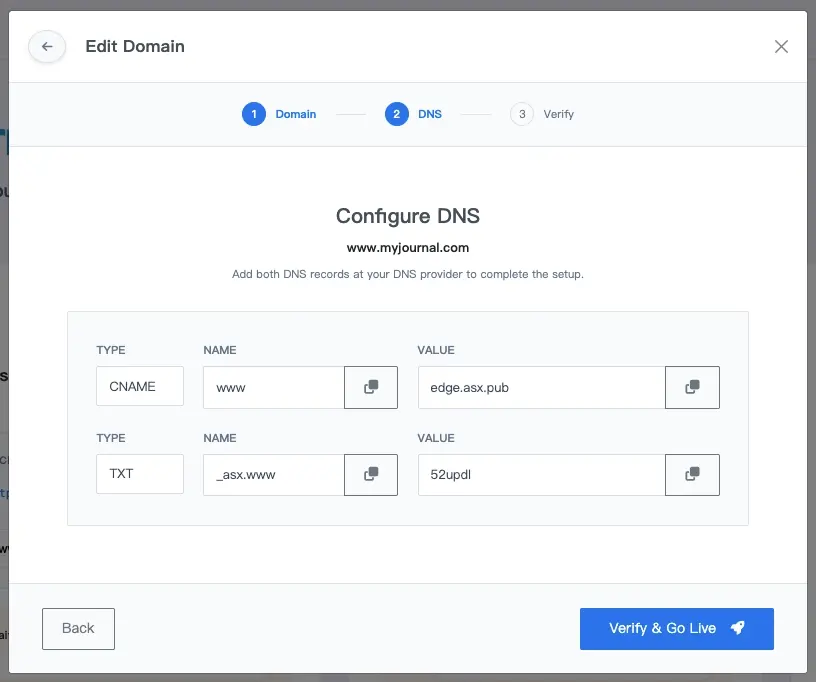
Step 2: Configure DNS
After clicking Next, AS Cloud will generate the DNS information you need.
| Type | Name | Value |
|---|---|---|
| CNAME | www | edge.asx.pub |
| TXT | _asx.www | [Provided by AS Cloud] |
Go to your domain registrar's DNS management panel and add both the CNAME and TXT records exactly as provided. For example:
Please copy the DNS values exactly as provided.
If the CNAME or TXT records are incorrect, incomplete, or added to the wrong host, the domain cannot be verified successfully.
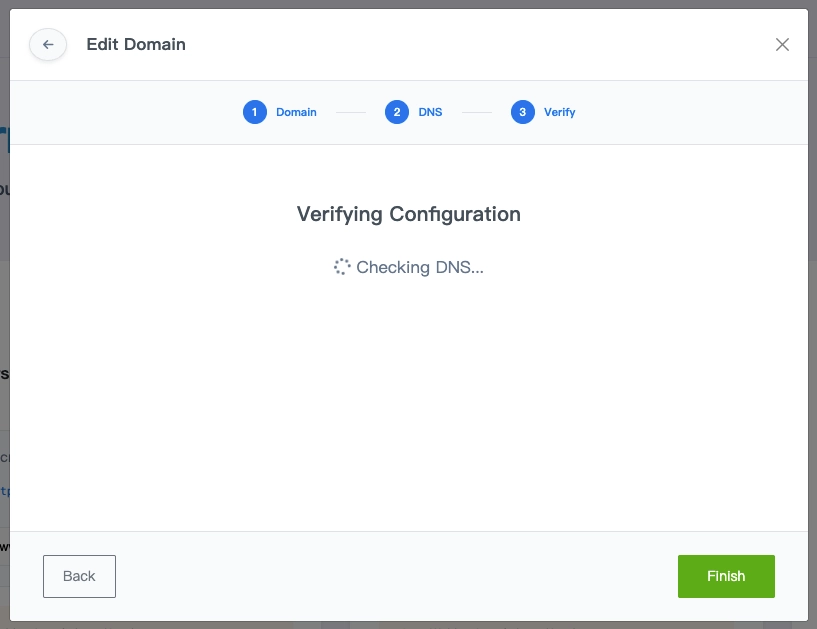
Step 3: Verify DNS and Configure HTTPS
Once your DNS record has been added, click Verify & Go Live.
AS Cloud will then:
- check whether your DNS has propagated correctly
- verify that the domain points to the AS infrastructure
- automatically configure the HTTPS certificate for your domain
This process may take some time depending on your DNS provider and propagation status.
In most cases, the full process may take anywhere from a few minutes to around 30 minutes.
If DNS Is Not Detected
Sometimes DNS changes are not visible immediately.
If AS Cloud cannot detect the DNS record yet, you will see a warning message indicating that the DNS has not been detected.
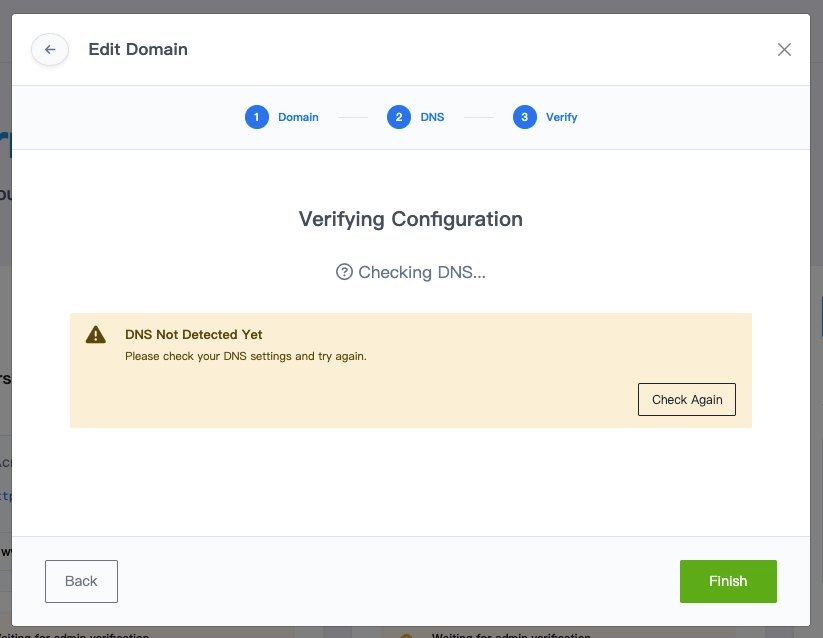
If this happens:
- confirm that the CNAME and TXT records were added correctly
- wait for DNS propagation
- return later and click the detection button again
If DNS verification keeps failing, wait about 30 minutes and then try again.
DNS propagation speed depends on your registrar and DNS provider.
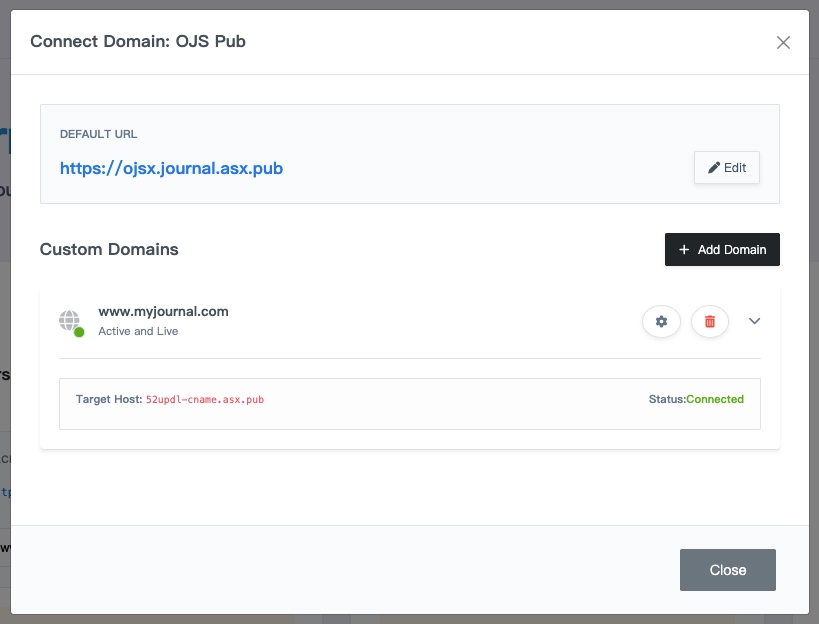
When the Domain Is Successfully Connected
Once verification is complete, the custom domain will appear in the domain management window as Connected and Active and Live.
The journal card will also show the connected domain directly.
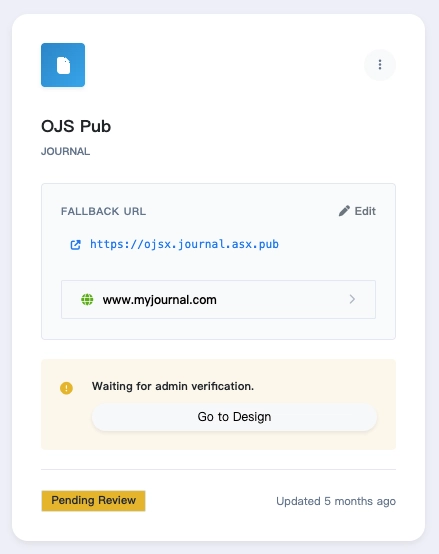
At this point, visitors can open your journal site directly through your custom domain.
HTTPS Is Configured Automatically
You do not need to purchase or install an SSL certificate manually.
After DNS is verified, AS Cloud automatically provisions and configures HTTPS for the connected domain.
This means your journal site will be available securely over https://.
HTTPS activation depends on successful DNS verification.
If DNS has not propagated correctly, HTTPS cannot be issued yet.
Since AS Cloud currently supports subdomain binding only, the root domain (mydomain.com) will not automatically load your journal site. We recommend:
- Connect
www.mydomain.comto AS Cloud following this guide. - Configure a Redirect at your registrar level (e.g., GoDaddy, Namecheap, Cloudflare).
- Point
mydomain.com(Apex/Root) towww.mydomain.com.
This ensures visitors can reach your journal through both addresses.
Summary
To connect a custom domain in AS Cloud:
- Locate your journal card in the dashboard.
- Click "Connect Custom Domain" and then "Add Domain".
- Enter a subdomain (e.g.,
www.mydomain.com). - Add the provided CNAME and TXT records to your DNS provider.
- Verify the DNS records in AS Cloud and wait for propagation.
- Success! Your SSL/HTTPS will be configured automatically.
Once connected, your journal can be accessed directly through your own branded domain.
Troubleshooting
I entered mydomain.com, but it does not work
AS Cloud does not currently support apex domain binding directly. Please use a subdomain such as www.mydomain.com.
DNS verification failed
Check whether the CNAME and TXT records were added correctly, then wait for propagation and try again later.
HTTPS is not active yet
HTTPS can only be configured after DNS verification succeeds. In most cases, this will become available automatically once the DNS record is detected.
Can I use my own domain registrar?
Yes. You can use any registrar or DNS provider, as long as you are able to add the required CNAME and TXT records.